

方案详情文
智能文字提取功能测试中
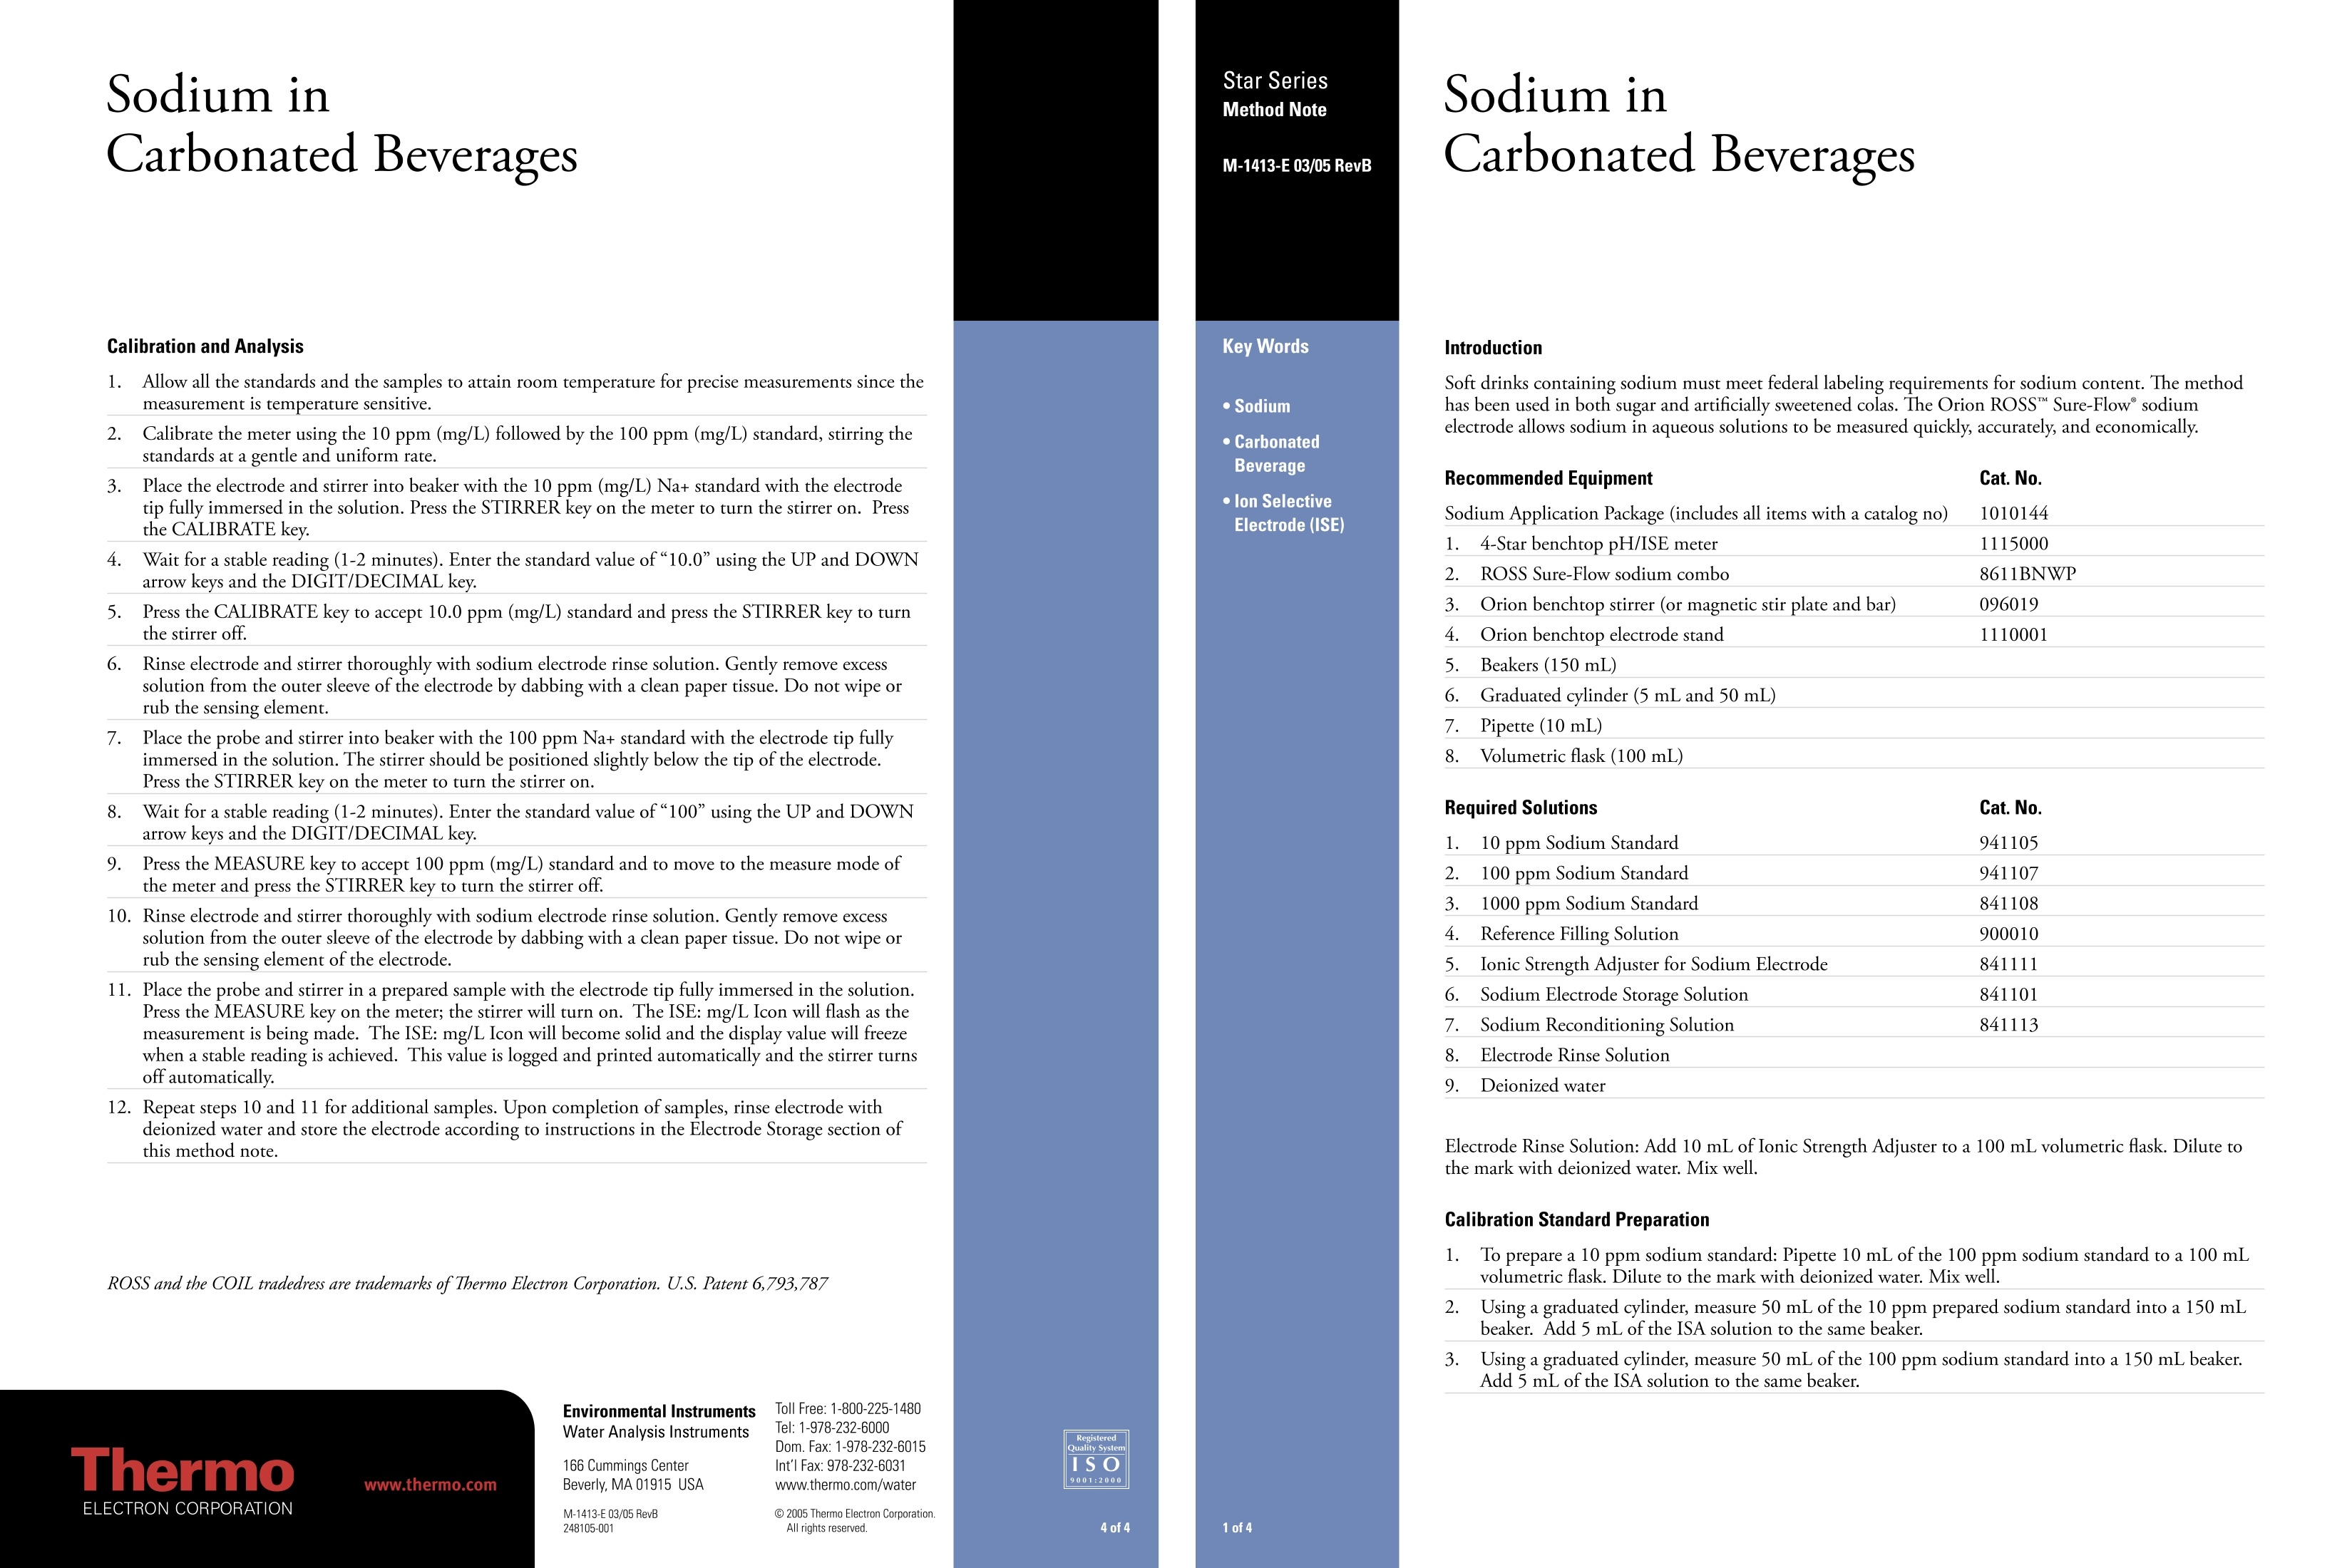
Sodium inCarbonated Beverages Sodium inCarbonated Beverages Star SeriesMethod Note M-1413-E 03/05 RevB Calibration and Analysis Key Words Introduction 1.3Allow all the standards and the samples to attain room temperature for precise measurements since themeasurement is temperature sensitive. Soft drinks containing sodium must meet federal labeling requirements for sodium content. The methodhas been used in both sugar and artificially sweetened colas. The Orion ROSS Sure-Flow°sodiumelectrode allows sodium in aqueous solutions to be measured quickly, accurately, and economically. 2.Calibrate the meter using the 10 ppm (mg/L) followed by the 100 ppm (mg/L) standard, stirring thestandards at a gentle and uniform rate. 3. Place the electrode and stirrer into beaker with the 10 ppm (mg/L) Na+ standard with the electrodetip fully immersed in the solution. Press the STIRRER key on the meter to turn the stirrer on. Pressthe CALIBRATE key. ·Sodium·CarbonatedBeverage·lon SelectiveElectrode (ISE) 4.Wait for a stable reading (1-2 minutes). Enter the standard value of“10.0”using the UP and DOWNarrow keys and the DIGIT/DECIMAL key. 5. Press the CALIBRATE key to accept 10.0 ppm (mg/L) standard and press the STIRRER key to turnthe stirrer off. 6.Rinse electrode and stirrer thoroughly with sodium electrode rinse solution. Gently remove excesssolution from the outer sleeve of the electrode by dabbing with a clean paper tissue. Do not wipe orrubthe sensing element. 7. Place the probe and stirrer into beaker with the 100 ppm Na+ standard with the electrode tip fullyimmersed in the solution. The stirrer should be positioned slightly below the tip of the electrode.Press the STIRRER key on the meter to turn the stirrer on. 8.Wait for a stable reading (1-2 minutes). Enter the standard value of“100”using the UP and DOWNarrow keys and the DIGIT/DECIMAL key. 9.Press the MEASURE key to accept 100 ppm (mg/L) standard and to move to the measure mode ofthe meter and press the STIRRER key to turn the stirrer off. 10. Rinse electrode and stirrer thoroughly with sodium electrode rinse solution. Gently remove excesssolution from the outer sleeve of the electrode by dabbing with a clean paper tissue. Do not wipe orrub the sensing element of the electrode. 11. Place the probe and stirrer in a prepared sample with the electrode tip fully immersed in the solution.Press the MEASURE key on the meter; the stirrer will turn on. The ISE: mg/L Icon will flash as themeasurement is being made. The ISE: mg/L Icon will become solid and the display value will freezewhen a stable reading is achieved. This value is logged and printed automatically and the stirrer turnsoff automatically. Recommended Equipment Cat. No. Sodium Application Package (includes all items with a catalog no) 1010144 1. 4-Star benchtop pH/ISE meter 1115000 2. ROSS Sure-Flow sodium combo 8611BNWP 3. Orion benchtop stirrer (or magnetic stir plate and bar) 096019 4. Orion benchtop electrode stand 1110001 5. Beakers (150 mL) 6. Graduated cylinder (5 mL and 50 mL) 7. Pipette (10 mL) Volumetric flask (100 mL) Required Solutions Cat. No. 1. 10 ppm Sodium Standard 941105 2. 100 ppm Sodium Standard 941107 3. 1000 ppm Sodium Standard 841108 4. Reference Filling Solution 900010 5. Ionic Strength Adjuster for Sodium Electrode 841111 6. Sodium Electrode Storage Solution 841101 7. Sodium Reconditioning Solution 841113 8. Electrode Rinse Solution 9. Deionized water 12. Repeat steps 10 and 11 for additional samples. Upon completion of samples, rinse electrode withdeionized water and store the electrode according to instructions in the Electrode Storage section ofthis method note. Electrode Rinse Solution: Add 10 mL of Ionic Strength Adjuster to a 100 mL volumetric flask. Dilute tothe mark with deionized water. Mix well. Calibration Standard Preparation ROSS and the COIL tradedress are trademarks of Thermo Electron Corporation. U.S. Patent 6,793,787 1. To prepare a 10 ppm sodium standard: Pipette 10 mL of the 100 ppm sodium standard to a 100 mLvolumetric flask. Dilute to the mark with deionized water. Mix well. 2.U(sing a graduated cylinder, measure 50 mL of the 10 ppm prepared sodium standard into a 150 mLbeaker. Add 5 mL of the ISA solution to the same beaker. 3.Using a graduated cylinder, measure 50 mL of the 100 ppm sodium standard into a 150 mL beaker.Add 5 mL of the ISA solution to the same beaker. ( Environmental Instruments ) www.thermo.com ( WaterAnalysis Instruments 1 66 Cummings C enterBeverly, MA 01915 USA M - 1 4 13-E 03/05 RevE2 4 8105-0 0 1 ) Toll Free: 1-800-225-1480Tel: 1-978-232-6000Dom. Fax:1-978-232-6015Intl Fax: 978-232-6031www.thermo.com/waterO 2005 Thermo Electron Corporation RegisteredIs O9001:2000 All rights reserved Sample Preparation 1.Using a graduated cylinder, measure 50 mL of the sample into a beaker. Add 5 mL of the ISA solution tothe same beaker. 2. Repeat this procedure for additional measurements. Results Five aliquots of a carbonated beverage were measured for sodium. The data in the table below is representativeof the results expected for sodium in carbonated beverage. Carbonated Beverage ppm (mg/L)Sodium Sample #1: 71.8 Sample # 2: 72.4 Sample # 3: 72.1 Sample #4: 71.2Sample #5: 71.2 Mean: 71.7 Standard Deviation: 0.54 %CV: 0.75 Electrode Storage Soak the electrode in Orion Sodium Electrode Storage Solution. Immerse both the tip of the electrode and thereference junction. Replace the storage solution weekly or sooner if crystallization or contamination occurs. Forlonger storage periods, refer to the electrode instruction manual. Maintain sodium electrode filling solution at alevel that covers the coil. Equipment Setup Electrode Setup -ROSS Sure-Flow° 1. Remove protective shipping cap from the ROSS Sodium Electrode sensing element andsave for electrode storage. 2.Clean any salt deposits from the exterior of the electrode by rinsing it with Sodium Electrode RinseSolution. Do not use water. 3. Uncover the fill hole by unscrewing plug (save for storage), and empty electrode by pressing the cap. 4. Fill the reference portion of the electrode with Sodium Electrode Filling Solution. To function properly,the level of the filling solution must cover the coil and be at least one inch above the sample level onimmersion. Electrode fill hole should be open whenever the electrode is in use. Thoroughly wet thejunction by pressing down on the electrode cap and allowing a small amount of filling solution to flow out.Replenish lost filling solution. 5. Soak the electrode at least two hours in Sodium Electrode Storage Solution. 6. After storage, refresh the junction by pressing on the cap and letting a small amount of solution flow out.Replenish lost filling solution. For initial meter setup, follow the steps on the Quick Reference Guide that is attached to the meter itself. TheQuick Start Guide included with each meter also contains a layout of the meter keypad for reference. Thewords in this method represented in all capital letters, such as POWER, indicate a key on the meter, and wordsin quotations such as “Unit"indicate information on the meter display. 1. Connect the electrode to the meter. 2.Connect the stirrer to the meter. 3P.ress the POWER key on the meter to turn the meter on. 4N.ote that the arrow on the left of the screen indicates the active line. If the top line is not active, press theLINE SELECTION key to change the selected line to the top line. Press the SETUP key. Press the UP or DOWN keys to enter ISE setup. Press the LINE SELECTIONkey to select the bottom line. Press the UP or DOWN arrow keys to select“2” for “rES”which is anabbreviation for resolution or number of significant digits. Press the LINE SELECTION key toaccept value. 6.Press the LINE SELECTION key to select the middle line, and press the DOWN arrow key to select “nLln"which is an abbreviation for non-linear blank correction. 7.Press the LINE SELECTION key to select the bottom line. Press UP or DOWN arrow keys to select“off” for“nL In". Press the LINE SELECT key to accept setting. 8.Press the LINE SELECTION key to select middle line, and press the DOWN arrow key to select“rAng"which is an abbreviation for measurement range. 9.Press the LINE SELECTION key to select the bottom line. Press the UP or DOWN arrow keys to select“HigH”for “rAng”. Press the LINE SELECT key to accept setting. 10. Press the LINE SELECTION key to select middle line, and press the DOWN arrow key to select “Unit". 11. Press the LINE SELECTION key to select the bottom line. Press the UP or DOWN arrow keys to select“mgL” for “Unit". Press the LINE SELECTION key to accept setting. 12. Press the MEASURE key to return to the measurement mode. If all steps were followed correctly the meter display will show three digits in the top line and“ISE: mg/L”tothe right of the top line. The meter and electrode are now ready for calibration. Note: The Orion Benchtop Stirrer must be turned on in General Instrument setup before analysis,please see the Quickstart guide for instructions. of of
关闭-
1/2
-
2/2
产品配置单

赛默飞中国实验室产品事业部为您提供《碳酸饮料中钠离子检测方案 》,该方案主要用于碳酸饮料(汽水)中营养成分检测,参考标准《暂无》,《碳酸饮料中钠离子检测方案 》用到的仪器有台式pH/ORP/ISE/溶解氧/电导率测量仪、Orion 4-Star台式(便携式)pH/离子浓度测量仪。
我要纠错
推荐专场
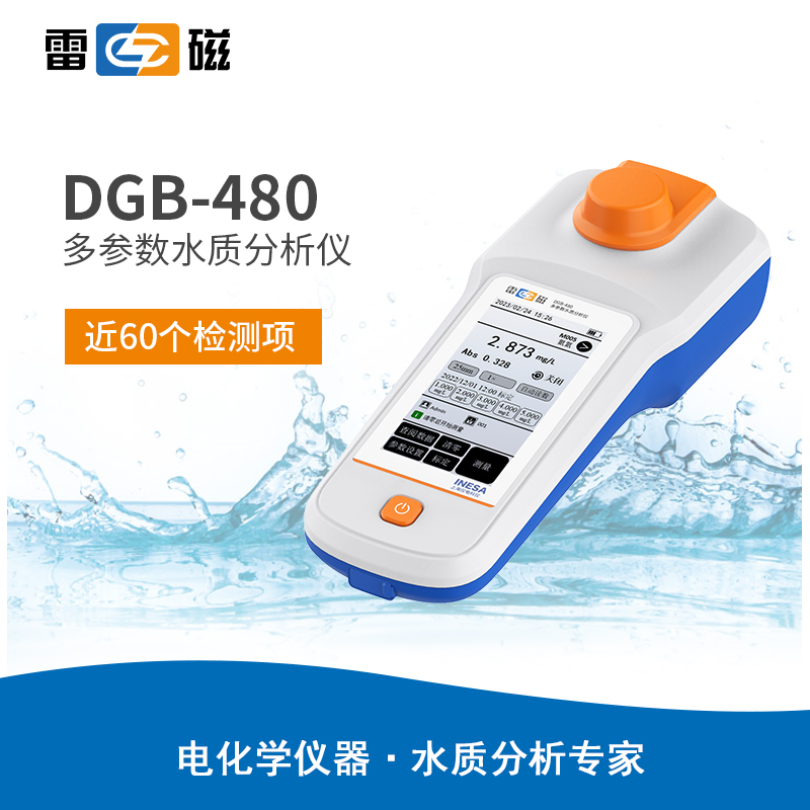
水质分析仪/多参数水质分析仪
更多


相关方案
 咨询
咨询