方案详情文
智能文字提取功能测试中
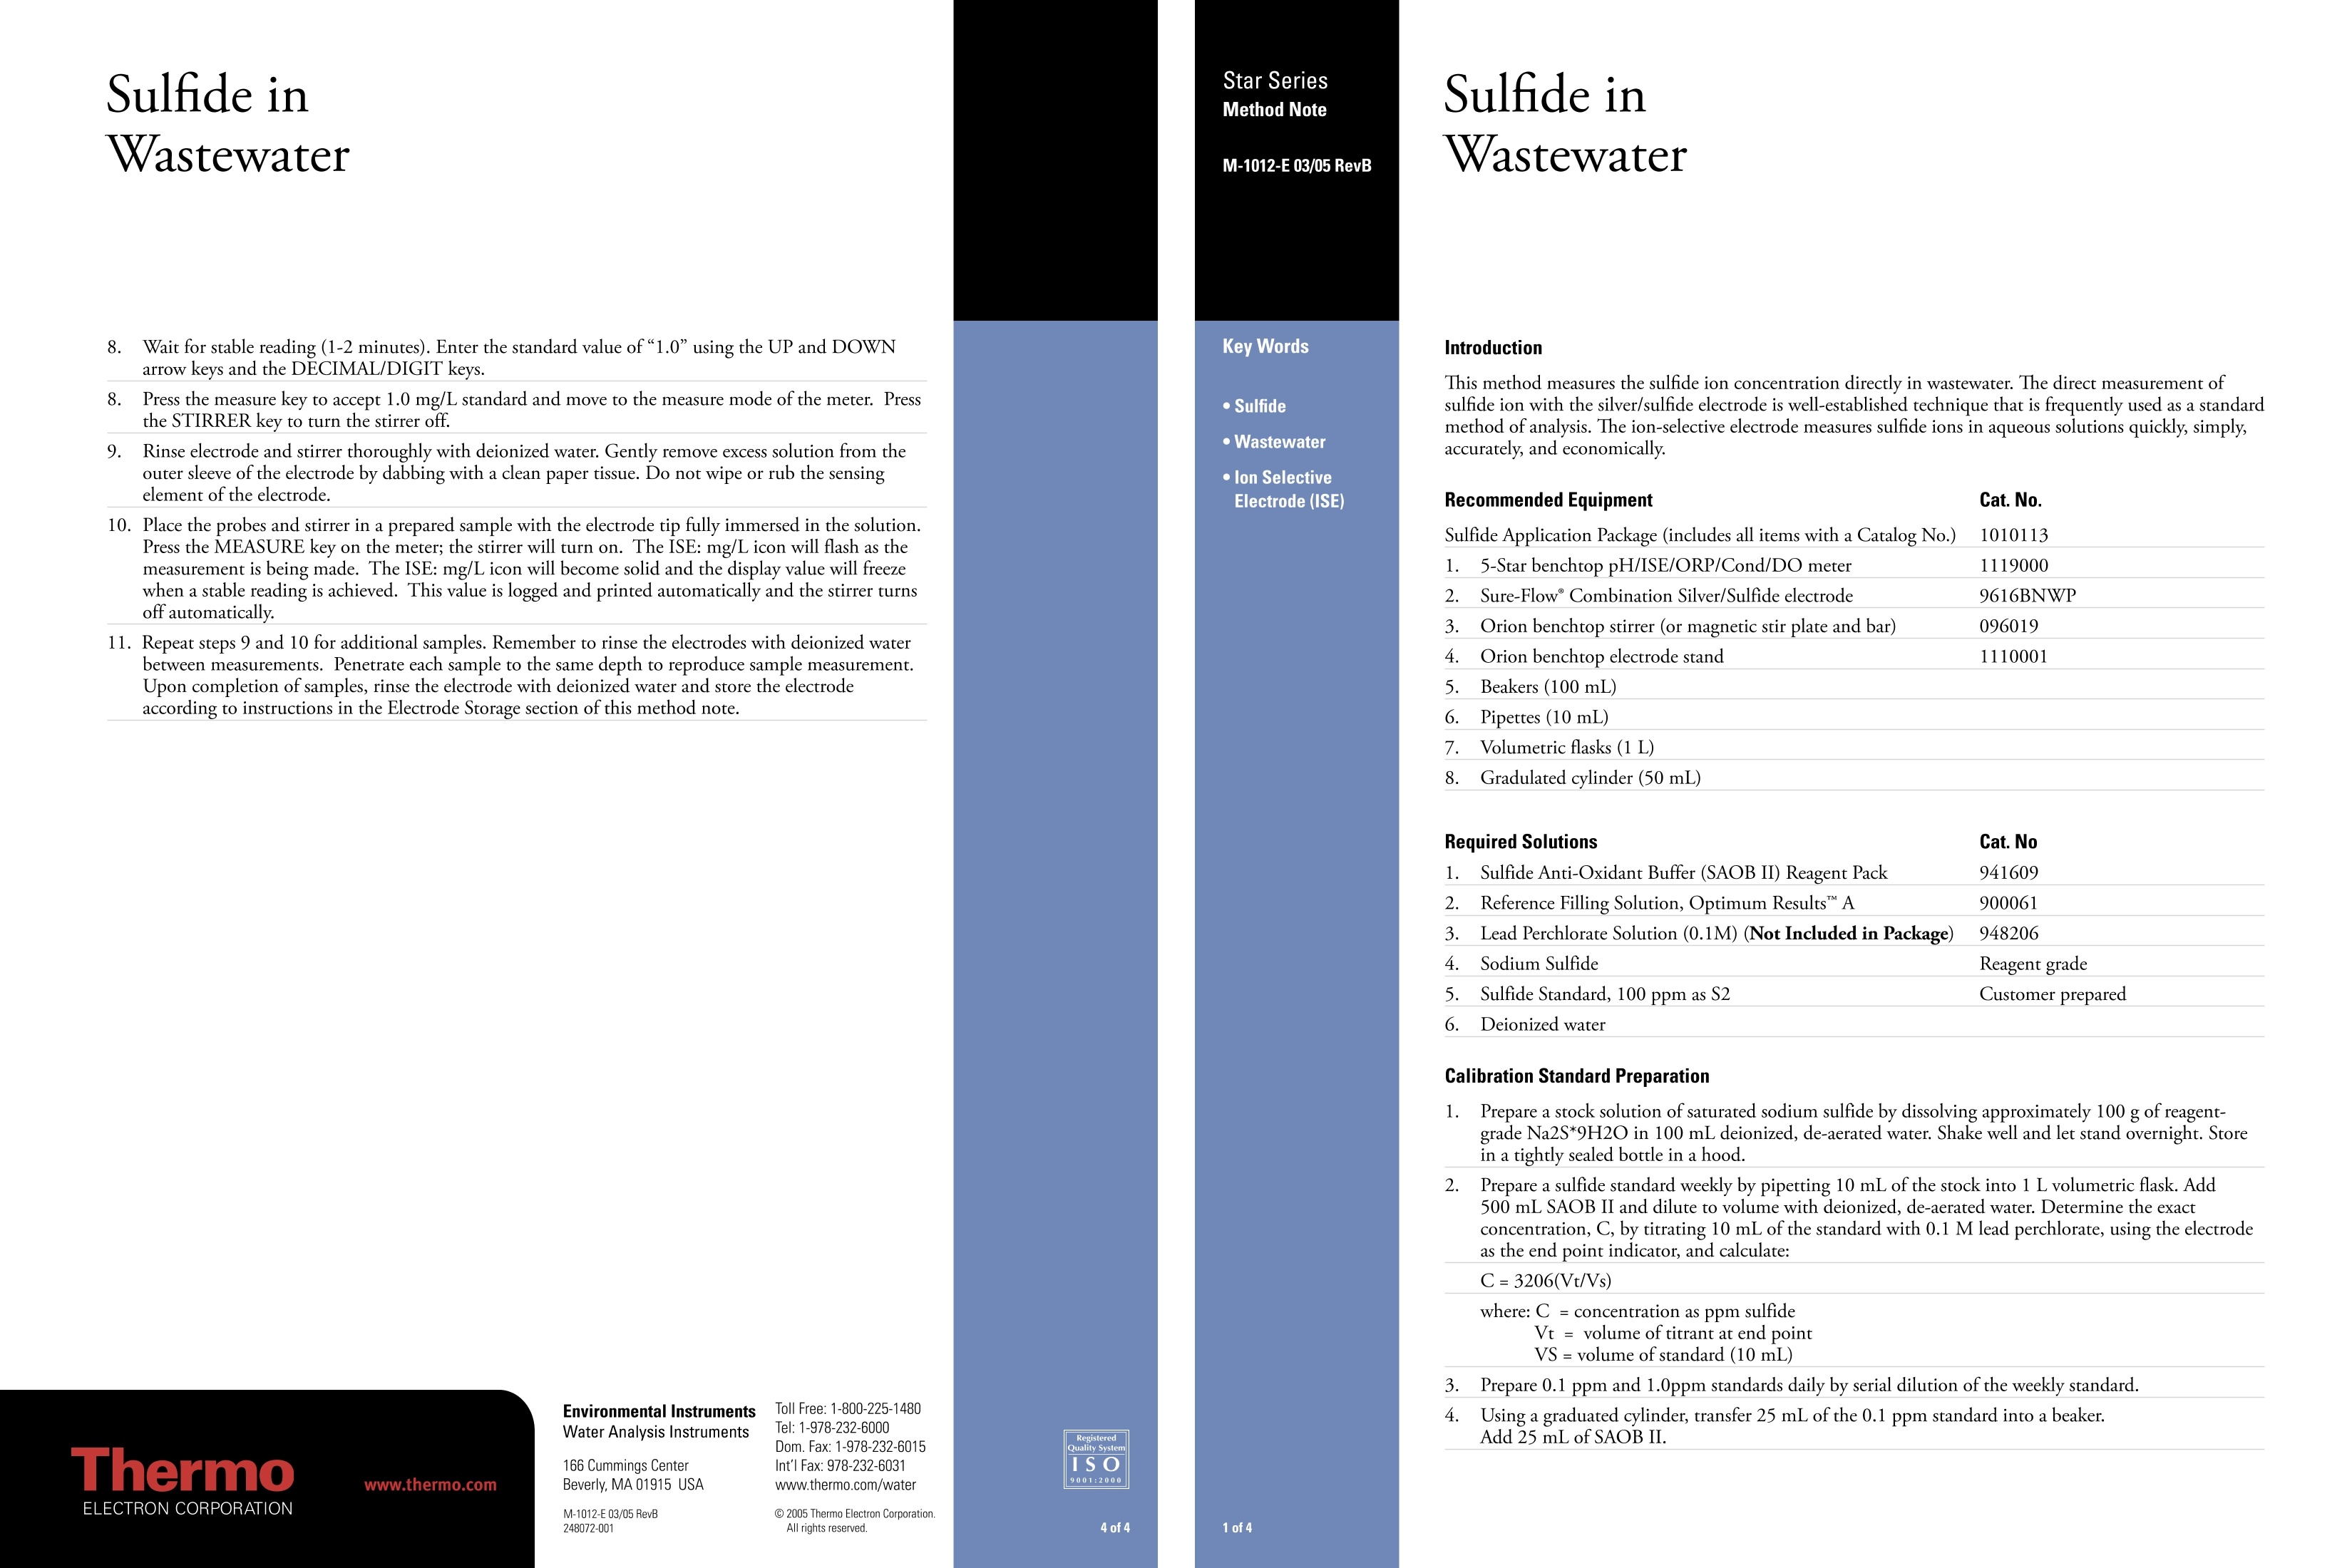
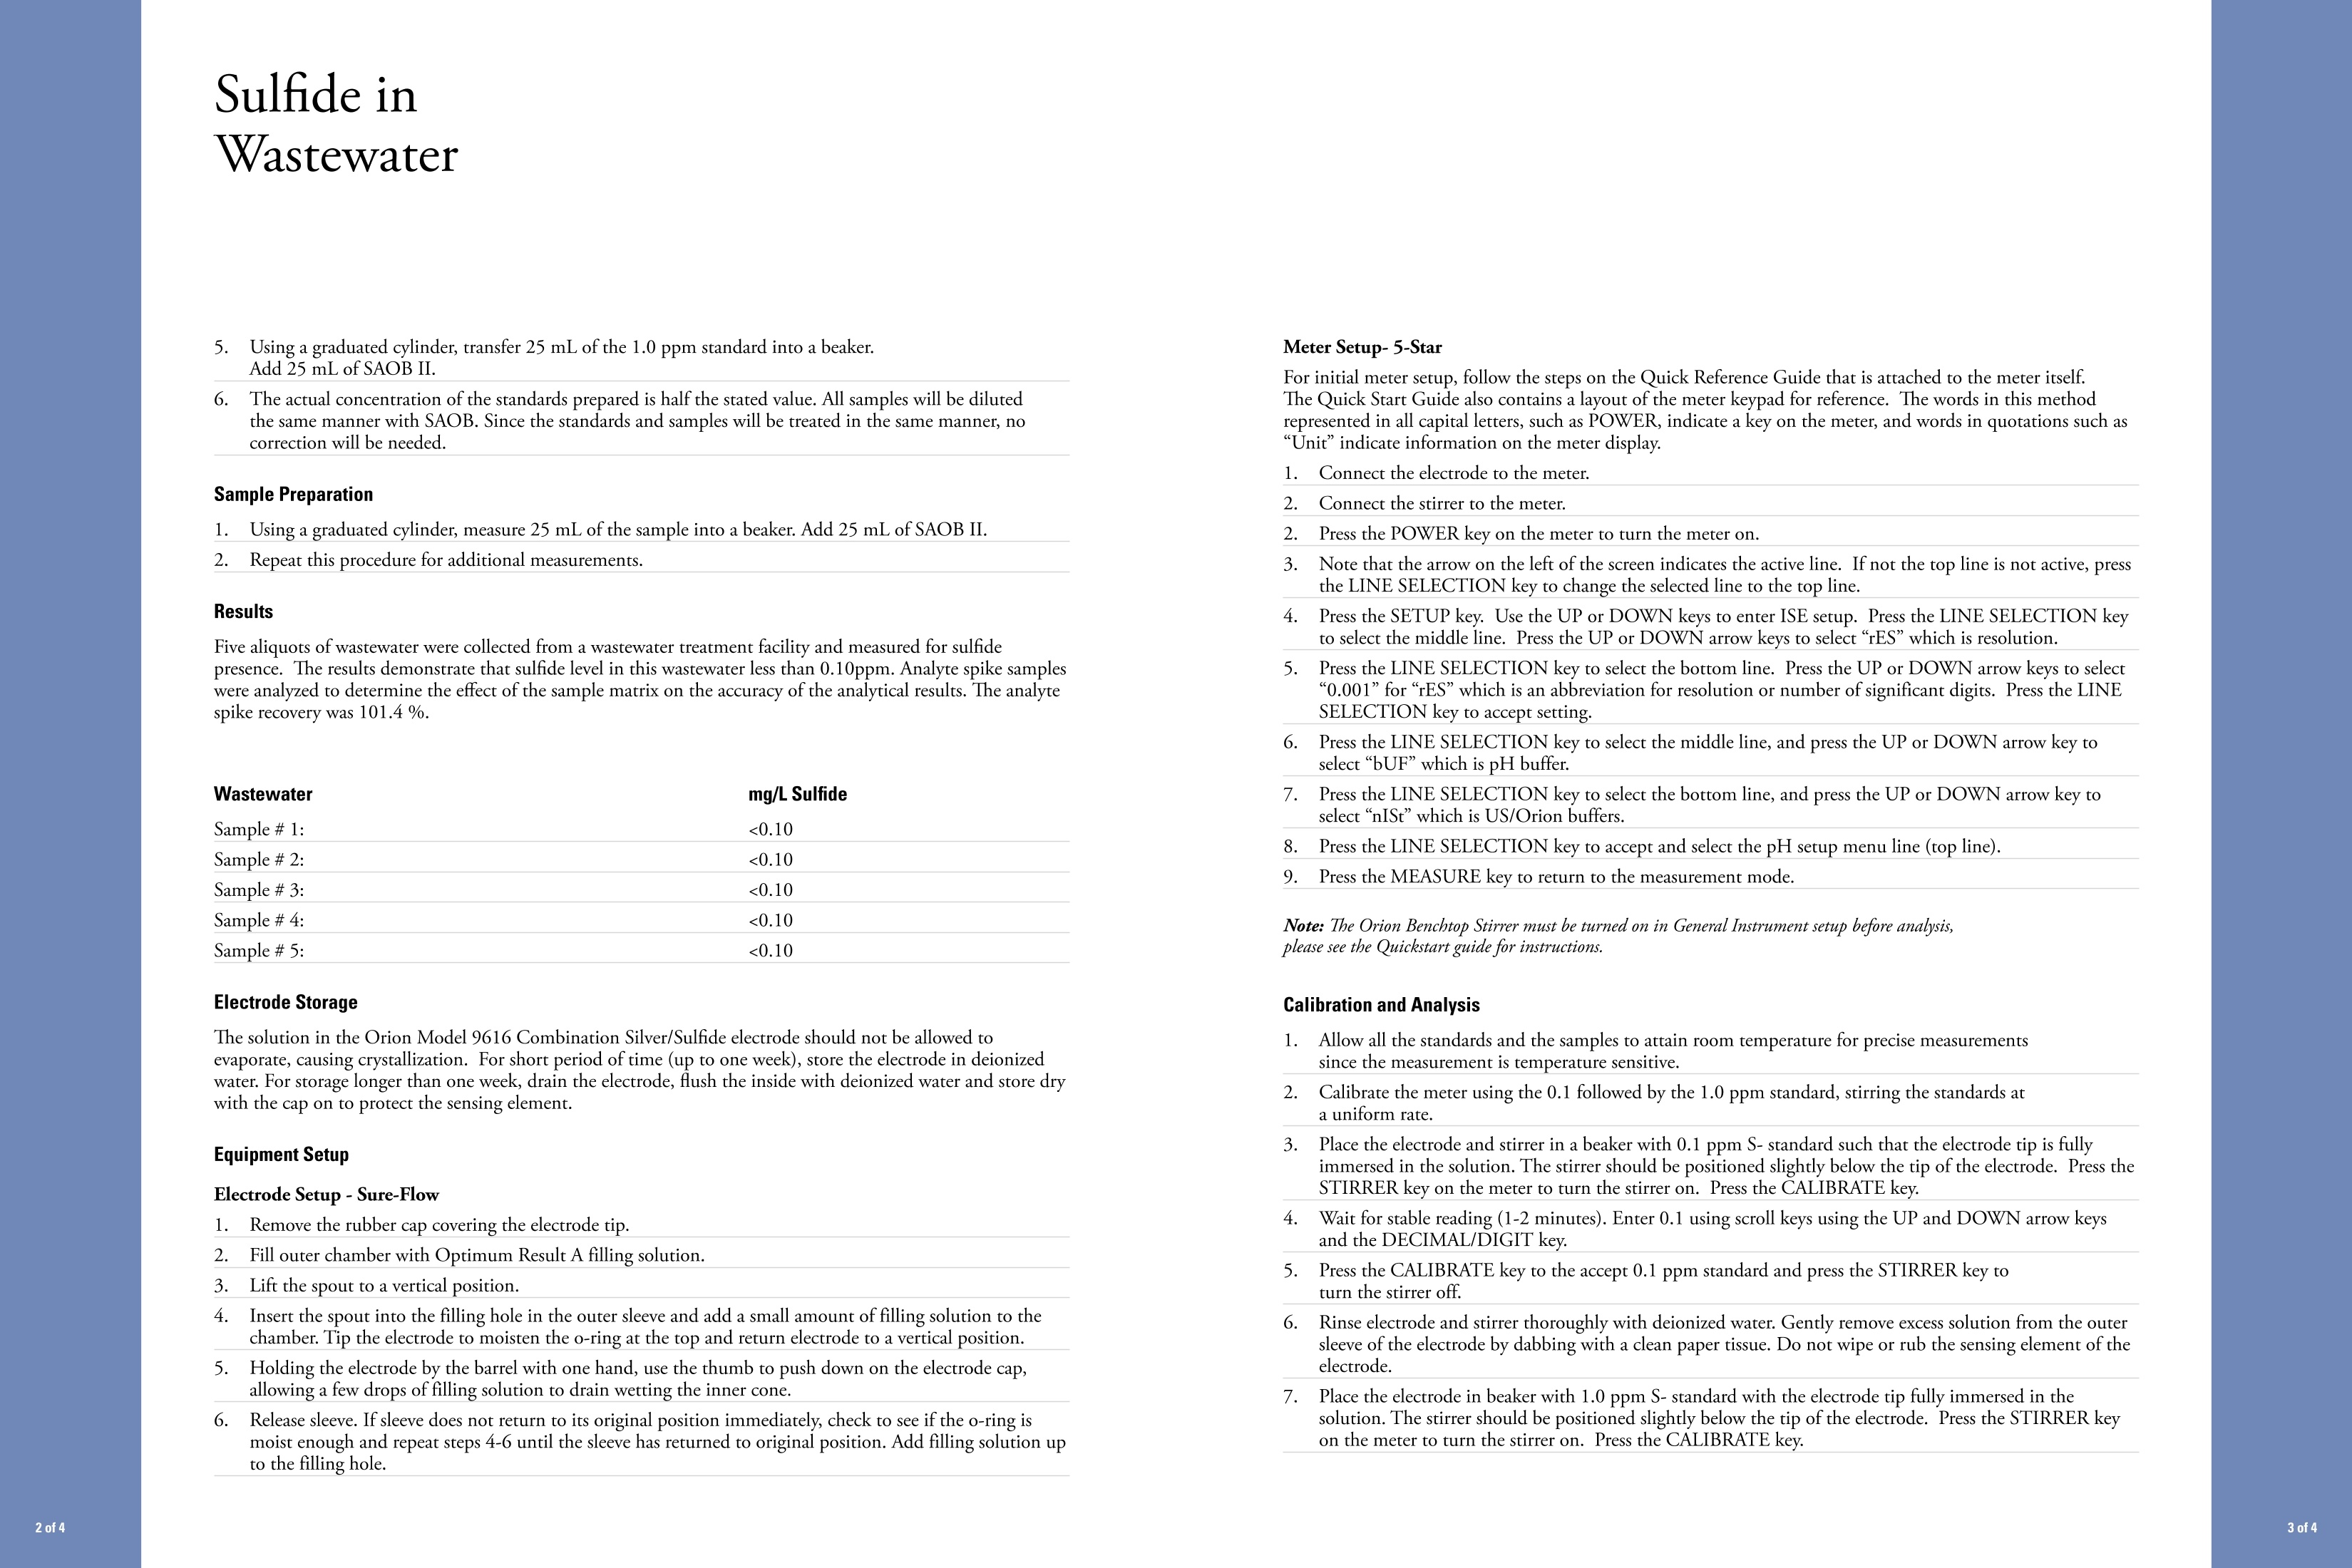
Sulfide inWastewaterSulfide inWastewater Sulfide inWastewater 8 Wait for stable reading (1-2 minutes). Enter the standard value of“1.0” using the UP and DOWNarrow keys and the DECIMAL/DIGIT keys. 8. Press the measure key to accept 1.0 mg/L standard and move to the measure mode of the meter. Pressthe STIRRER key to turn the stirrer off. 9.Rinse electrode and stirrer thoroughly with deionized water. Gently remove excess solution from theouter sleeve of the electrode by dabbing with a clean paper tissue. Do not wipe or rub the sensingelement of the electrode. 10. Place the probes and stirrer in a prepared sample with the electrode tip fully immersed in the solution.Press the MEASURE key on the meter; the stirrer will turn on. The ISE: mg/L icon will flash as themeasurement is being made. The ISE: mg/L icon will become solid and the display value will freezewhen a stable reading is achieved. This value is logged and printed automatically and the stirrer turnsoff automatically. 11. Repeat steps 9 and 10 for additional samples. Remember to rinse the electrodes with deionized waterbetween measurements. Penetrate each sample to the same depth to reproduce sample measurement.Upon completion of samples, rinse the electrode with deionized water and store the electrodeaccording to instructions in the Electrode Storage section of this method note. Introduction This method measures the sulfide ion concentration directly in wastewater. The direct measurement ofsulfide ion with the silver/sulfide electrode is well-established technique that is frequently used as a standardmethod of analysis. The ion-selective electrode measures sulfide ions in aqueous solutions quickly, simply,accurately, and economically. Recommended Equipment Cat.No. Sulfide Application Package (includes all items with a Catalog No.) 1010113 1. 5-Star benchtop pH/ISE/ORP/Cond/DO meter 1119000 2. Sure-Flow°Combination Silver/Sulfide electrode 9616BNWP 3. Orion benchtop stirrer (or magnetic stir plate and bar) 096019 4. Orion benchtop electrode stand 1110001 5. Beakers (100mL) .Pipettes (10 mL) 7.Volumetric flasks (1 L) 8. Gradulated cylinder (50 mL) Required Solutions Cat. No 1. Sulfide Anti-Oxidant Buffer (SAOB II) Reagent Pack 941609 2. Reference Filling Solution, Optimum Results"A 900061 3. Lead Perchlorate Solution (0.1M) (Not Included in Package) 948206 4. Sodium Sulfide Reagent grade 5. Sulfide Standard, 100 ppm as S2 Customer prepared 6. Deionized water Calibration Standard Preparation 1. Prepare a stock solution of saturated sodium sulfide by dissolving approximately 100 gof reagent-grade Na2S*9H2O in 100 mL deionized, de-aerated water. Shake well and let stand overnight. Storein a tightly sealed bottle in a hood. 2. P1repare a sulfide standard weekly by pipetting 10 mL of the stock into 1 Lvolumetric flask. Add 500 mL SAOB II and dilute to volume with deionized, de-aerated water. Determine the exact concentration, C, by titrating 10 mL of the standard with 0.1 M lead perchlorate, using the electrode as the end point indicator, and calculate: C=3206(Vt/Vs) where: C=concentration as ppm sulfide Vt = volume of titrant at end point VS= volume of standard (10 mL) .33.Prepare 0.1 ppm and 1.0ppm standards daily by serial dilution of the weekly standard. 4. Using a graduated cylinder, transfer 25 mL of the 0.1 ppm standard into a beaker. Add 25 mL of SAOB II. 5. Using a graduated cylinder, transfer 25 mL of the 1.0 ppm standard into a beaker.Add 25 mL of SAOB II. D.The actual concentration of the standards prepared is half the stated value. All samples will be dilutedthe same manner with SAOB. Since the standards and samples will be treated in the same manner, nocorrection will be needed. Sample Preparation 1. Using a graduated cylinder, measure 25 mL of the sample into a beaker. Add 25 mL of SAOB II. 2. Repeat this procedure for additional measurements. Results Five aliquots of wastewater were collected from a wastewater treatment facility and measured for sulfidepresence. The results demonstrate that sulfide level in this wastewater less than 0.10ppm. Analyte spike sampleswere analyzed to determine the effect of the sample matrix on the accuracy of the analytical results. The analytespike recovery was 101.4 %. Wastewater mg/L Sulfide Sample# 1: <0.10 Sample # 2: <0.10 Sample #3: <0.10 Sample #4: <0.10 Sample #5: <0.10 Electrode Storage The solution in the Orion Model 9616 Combination Silver/Sulfide electrode should not be allowed toevaporate, causing crystallization. For short period of time (up to one week), store the electroid7e in deionizedwater. For storage longer than one week, drain the electrode, flush the inside with deionized water and store drywith the cap on to protect the sensing element. Equipment Setup Electrode Setup-Sure-Flow 1. Remove the rubber cap covering the electrode tip. 2. Fill outer chamber with Optimum Result A filling solution. 3. Lift the spout to a vertical position. Insert the spout into the filling hole in the outer sleeve and add a small amount of filling solution to thechamber. Tip the electrode to moisten the o-ring at the top and return electrode to a vertical position. 5.Holding the electrode by the barrel with one hand, use the thumb to push down on the electrode cap,allowing a few drops of filling solution to drain wetting the inner cone. 6 Release sleeve. If sleeve does not return to its original position immediately, check to see if the o-ring ismoist enough and repeat steps 4-6 until the sleeve has returned to original position. Add filling solution upto the filling hole. Meter Setup-5-Star For initial meter setup, follow the steps on the Quick Reference Guide that is attached to the meter itself.The Quick Start Guide also contains a layout of the meter keypad for reference. The words in this methodrepresented in all capital letters, such as POWER, indicate a key on the meter, and words in quotations such as“Unit"indicate information on the meter display. 1. Connect the electrode to the meter. 2.Connect the stirrer to the meter. 2.Press the POWER key on the meter to turn the meter on. 3.Note that the arrow on the left of the screen indicates the active line. If not the top line is not active, pressthe LINE SELECTION key to change the selected line to the top line. 4P.ress the SETUP key. Use the UP or DOWN keys to enter ISE setup. Press the LINE SELECTION keyto select the middle line. Press the UP or DOWN arrow keys to select “rES”which is resolution. 5P.ress the LINE SELECTION key to select the bottom line. Press the UP or DOWN arrow keys to select“0.001”for“rES” which is an abbreviation for resolution or number of significant digits. Press the LINESELECTION key to accept setting. 6.Press the LINE SELECTION key to select the middle line, and press the UP or DOWN arrow key toselect “bUF”which is pH buffer. 7.Press the LINE SELECTION key to select the bottom line, and press the UP or DOWN arrow key toselect“nISt”which is US/Orion buffers. 8.Press the LINE SELECTION key to accept and select the pH setup menu line (top line).9. Press the MEASURE key to return to the measurement mode. Note: The Orion Benchtop Stirrer must be turned on in General Instrument setup before analysis,please see the Quickstart guide for instructions. Calibration and Analysis 1. Allow all the standards and the samples to attain room temperature for precise measurementssince the measurement is temperature sensitive. 2C.alibrate the meter using the 0.1 followed by the 1.0 ppm standard, stirring the standards ata uniform rate. 3.Place the electrode and stirrer in a beaker with 0.1 ppm S- standard such that the electrode tip is fullyimmersed in the solution. The stirrer should be positioned slightly below the tip of the electrode. Press theSTIRRER key on the meter to turn the stirrer on. Press the CALIBRATE key. 4.Wait for stable reading (1-2 minutes). Enter 0.1 using scroll keys using the UP and DOWN arrow keysand the DECIMAL/DIGITkey. 5.Press the CALIBRATE key to the accept 0.1 ppm standard and press the STIRRER key toturn the stirrer off. Rinse electrode and stirrer thoroughly with deionized water. Gently remove excess solution from the outersleeve of the electrode by dabbing with a clean paper tissue. Do not wipe or rub the sensing element of theelectrode. 7.Place the electrode in beaker with 1.0 ppm S- standard with the electrode tip fully immersed in thesolution. The stirrer should be positioned slightly below the tip of the electrode. Press the STIRRER keyon the meter to turn the stirrer on. Press the CALIBRATE key. www.thermo.com of of of of
关闭-
1/2

-
2/2

产品配置单
赛默飞世尔环境与过程为您提供《废水中无机阴离子检测方案 》,该方案主要用于废水中无机阴离子检测,参考标准《暂无》,《废水中无机阴离子检测方案 》用到的仪器有null。
我要纠错
相关方案


 咨询
咨询


